
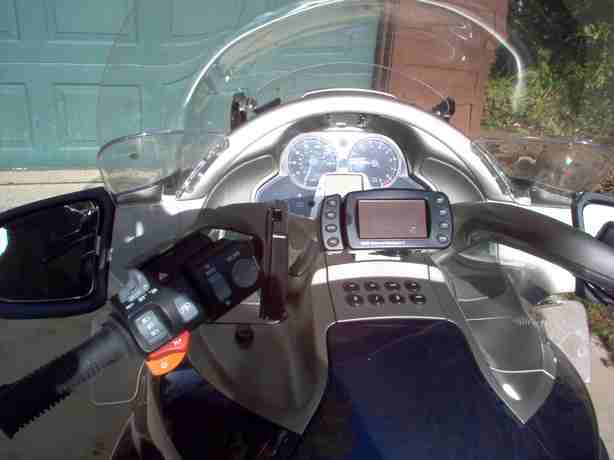
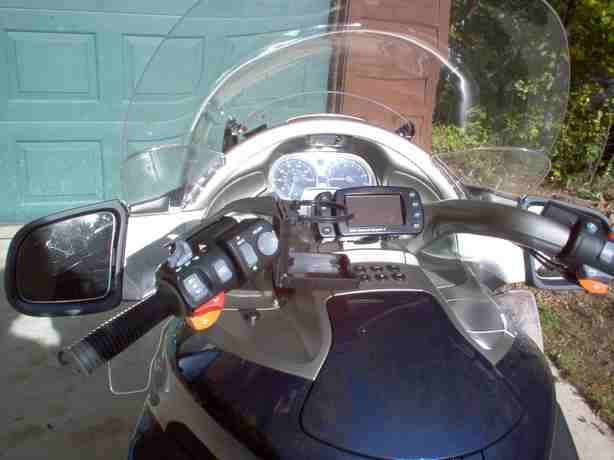
K1200LT Cup Holder

Home Brewed Cup Holder
Cup/Mug Holder
Here are some notes which should assist in fabricating the aluminum bracket (if needed).
The template is a standard 8 1/2" x 11" sheet of paper which should insure the
appropriate scale of the template. After printing out the template and cutting it out,
place the 1st segment over the clutch master cylinder cover (CMCC) and check to in make
sure the 1st template segment is the SAME size as the CMCC.
Once the size of the template is verified, trace the template on the aluminum and
saw with a jig saw and metal cutting blade.
Place the 1st segment of the bracket over the CMCC and "eyeball" the approximate
degree bend required to have the 2nd segment parallel with the ground when the
motorcycle is on its centerstand and on level ground.
I just put the template in a vise 1/16 behind the 1st segment side of the bend line
and heated the bend line with a torch while applying pressure with my gloved hand.
Just heat evenly across the entire bend line while applying pressure and it will
bend fine. The bend does not require a lot of heat (500/600 degrees).
NOTE: Aluminum needs to heated while being bent or CRACKING WILL ACCURE!
Once the 2nd segment is parallel with the ground, do the next bend (90 degrees) between
the 2nd segment and the 3rd segment.
Next, the bracket needs to be clamped in the vise at the 1st segment bend and a 12'
crescent wrench placed at the "twist up here point of the bracket - check template".
Twist the bracket a small amount and check by placing the bracket on the CMCC and
verify that the 90 degree bend is parallel with the ground. That will insure that
the cup holder will be level. If not level, readjust with crescent wrench.
Now, remove the CMCC (place plastic under to protect paint) and trace screw hole
pattern onto 1st segment.
Do the same with the cup holder and the 3rd segment.
I drilled and taped the holes in the 3rd segment to accept the cup holder screws.
The cup holder I purchased utilized 6 number 10 screws. I purchased the shortest
stainless steel screw I could (1/2") and ground them to not protrude beyond the
taped hole. This is important to in sure the screws DO NOT contact and mar the
handlebar cover.
I drilled the CMCC screws 1/32" larger for tolerance purposes. Then choose a drill
the same diameter as the CMCC screw head diameter and chamfer each hole in the
1st segment until the 4 CMCC screw heads fit flush with the surface.
Paint.
Install with BLUE (temporary) Loctite on the cup holder screw only.
That's it. Now, to enjoy that 6 pack of Guinness I picked up when I got the screws.
Enjoy
Cory H.